
Last updated November 16, 2026
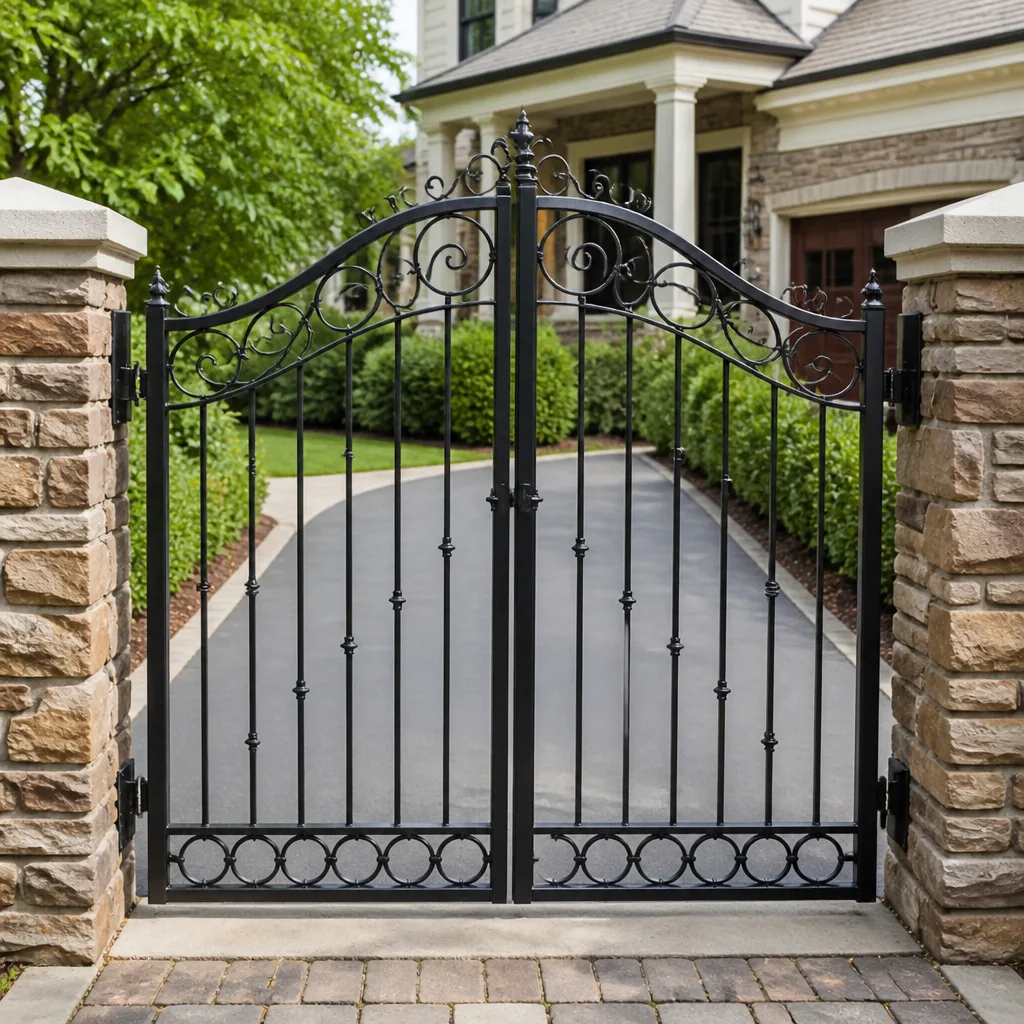 Wrought iron
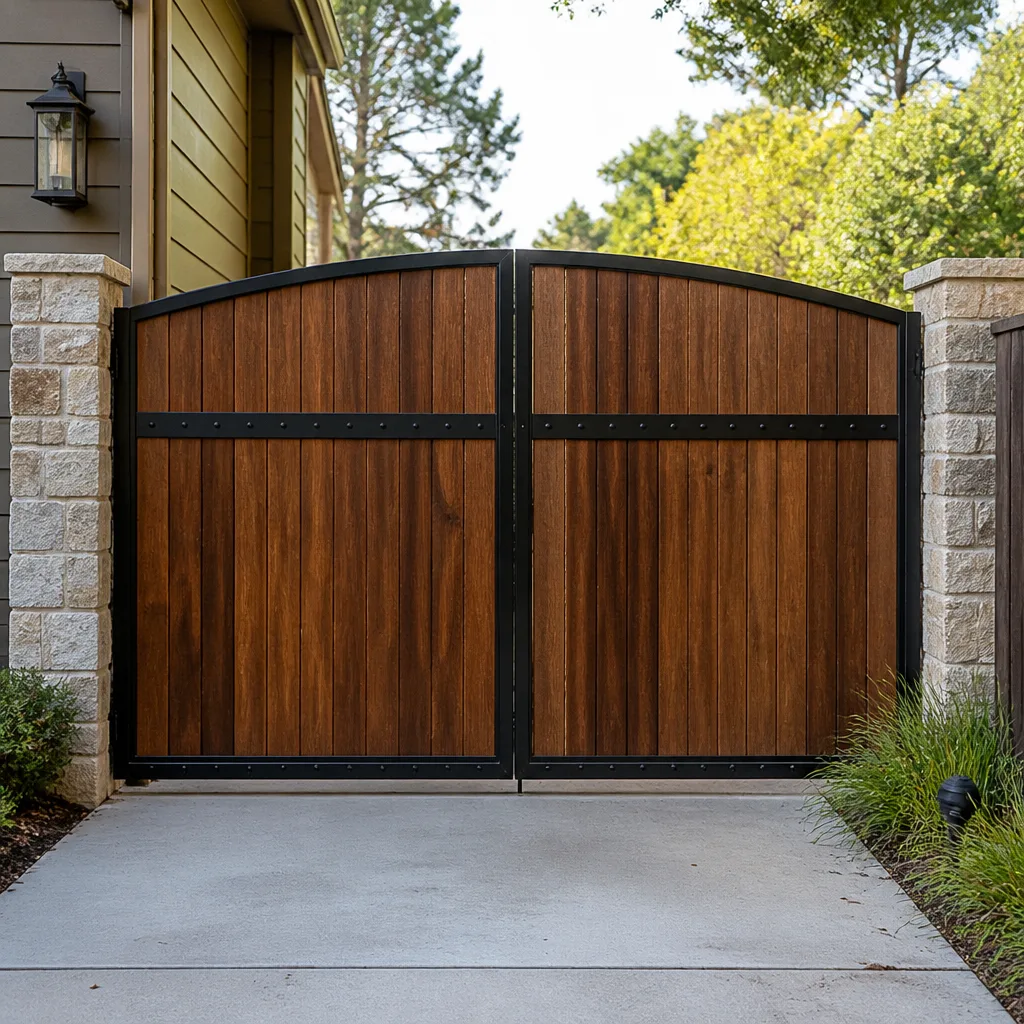 Wood & steel frame
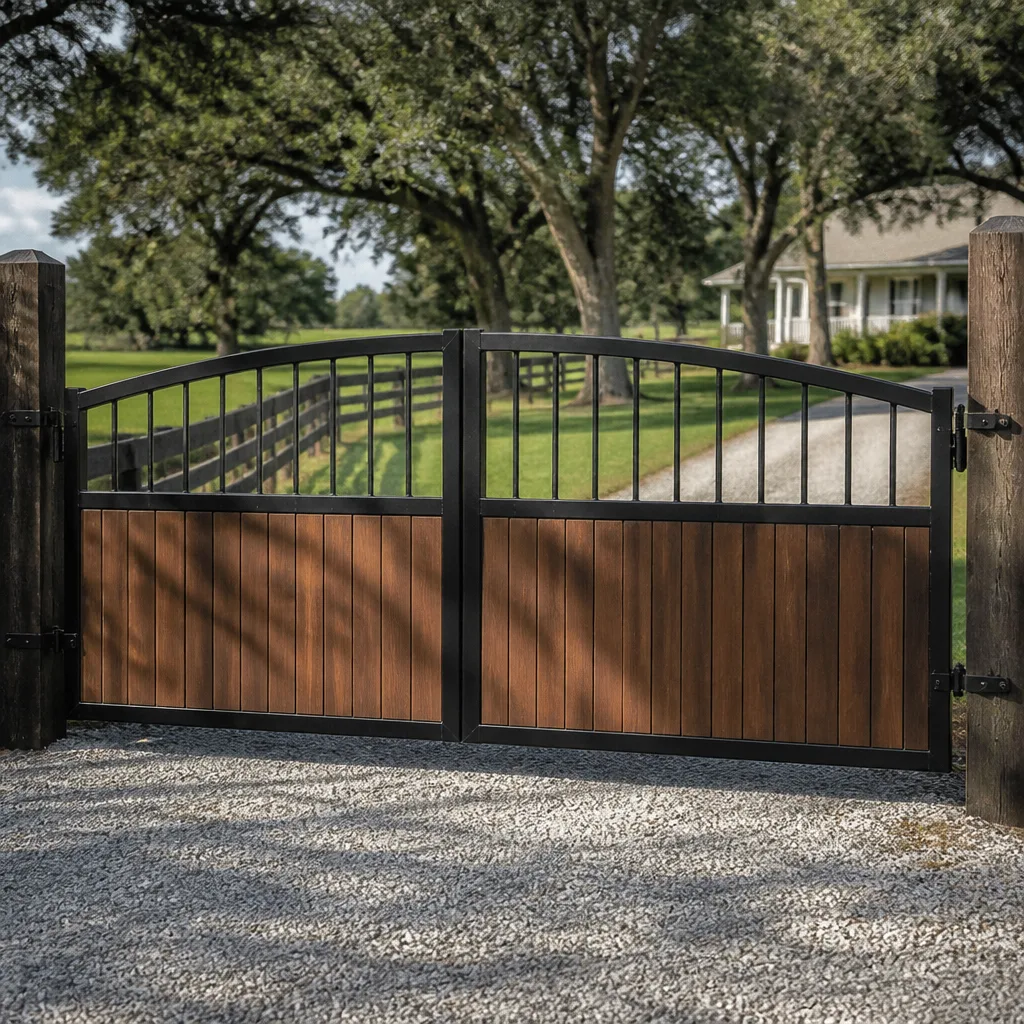 Farm & ranch
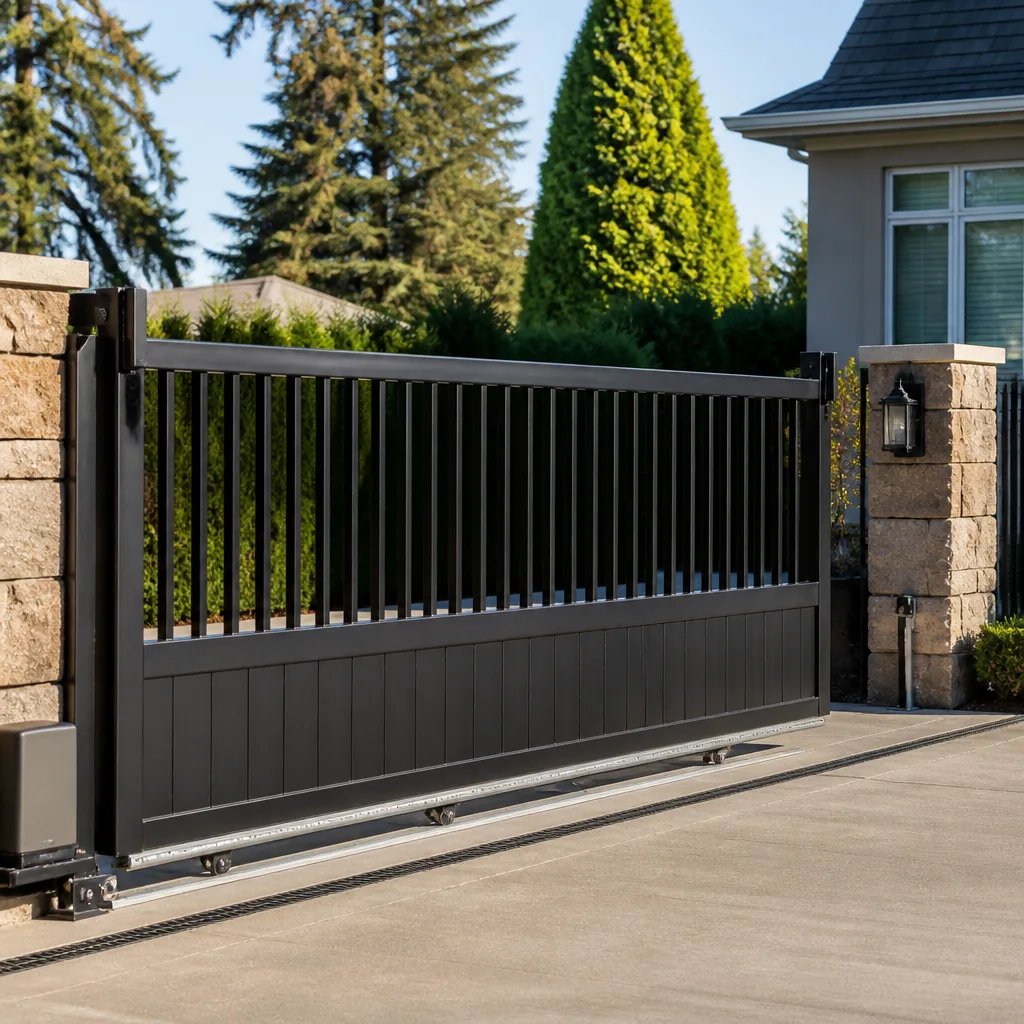 Sliding driveway gates
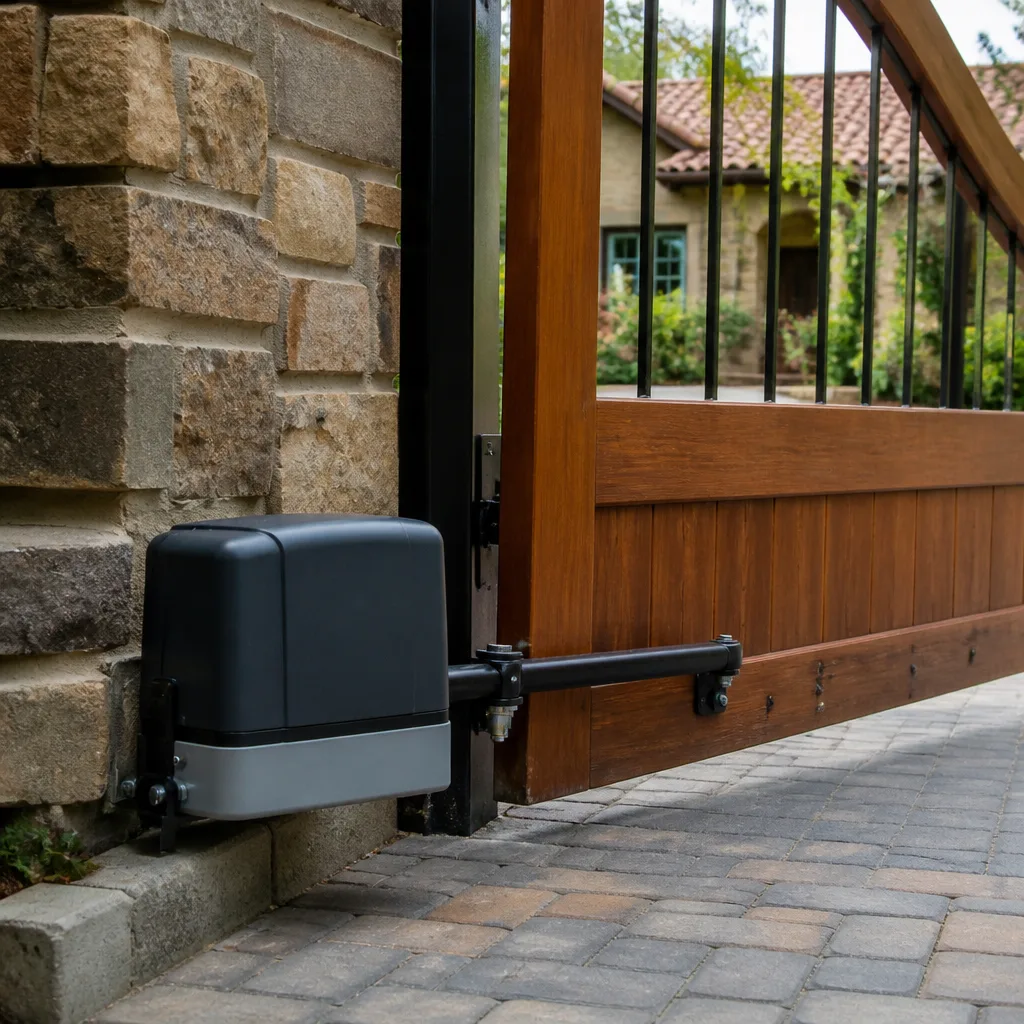 LiftMaster operators
Free on-site gate assessment - hinges, posts, and your LiftMaster or Nice gate operator checked before anything is quoted
The assessment is free and the quote is the invoice.
Get your free estimateDIY vs Professional Gate Repair: The Aurora Homeowner’s Decision Guide
Adjusting the travel limits on a residential LiftMaster operator takes four button presses and about ten minutes. It genuinely belongs in your hands. Replacing the control board on that same unit involves 24V logic wiring, anti-tamper protocols, and a UL 325 entrapment test once the gate is reassembled. Both get called “gate repair,” but only one belongs in a homeowner’s hands. Most Aurora homeowners we talk to misjudge this line in both directions: they call a professional for an adjustment they could handle in a coffee break, then take on electrical work that voids a warranty and skips a safety test. This guide draws the actual line, task by task.
Quick Answer
Lubrication, sensor cleaning, remote reprogramming, and limit adjustments are safe DIY tasks on most residential gate operators. Anything involving 120V or 240V power, control boards, motors, operator wiring, or a gate that has come off its track belongs with a trained technician. In Aurora, DIY electrical work on an automated gate can trigger permit requirements and usually voids manufacturer coverage, so the safe-pro repair line falls at the low-voltage control box, not at the gate frame.
Styles & brands we work with
- Wrought iron
- Wood & steel frame
- Farm & ranch
- Sliding driveway gates
- LiftMaster operators
Table of Contents
- The Task-by-Task Decision Matrix
- Gate Repairs That Are Genuinely Safe to Do Yourself
- Repairs That Require a Trained Technician
- What Illinois Code and Aurora Permits Mean for DIY Electrical Work
- The Most Expensive DIY Mistake: Ordering the Wrong Part
- What “Attempted DIY Repair” Does to Your Final Bill
- The Middle Path: Prep Work Before the Technician Arrives
- Why Brand Familiarity Changes the DIY Calculation
The Task-by-Task Decision Matrix
The question isn’t “can I fix a gate?” It’s “can I fix this specific failure on this specific system?” A sliding gate with a Mighty Mule operator and a dead remote is a different job from a swing gate with a FAAC operator and a burnt control board, even though both present as “the gate won’t open.” Here’s how the work breaks down by category in the gates we see around Aurora.
Safe for most homeowners
- Lubricating hinges, rollers, and the track or swing path
- Cleaning photo-eye sensors and realigning them after a knock
- Reprogramming remotes and keypads
- Adjusting the open and close travel limits on a residential operator
- Replacing remote batteries and checking the operator’s power switch
- Clearing debris, snow, or ice from the gate’s path
Technician territory
- Any repair inside the operator housing (control board, receiver, motor)
- Anything touching the 120V or 240V supply line
- Replacing a motor assembly or gear box
- Repairing or replacing gate hinges, posts, or a panel that has shifted
- Replacing a slide gate that has come off its track
- Installing or replacing an operator, keypad, or loop detector
- Any entrapment safety device that isn’t responding
The pattern is simple: mechanical maintenance and user-level programming are yours. Anything electrical, anything structural, and anything that ends with a gate weighing hundreds of pounds moving on its own belongs with someone who does it for a living. If your gate has stopped completely and you’re not sure which category you’re in, the safest first step is a conversation. We handle gate repair across the Aurora area and can tell you over the phone which side of the line your issue sits on.
Gate Repairs That Are Genuinely Safe to Do Yourself
We’d rather you handle these yourself. They’re low-risk, they don’t touch line voltage, and doing them keeps your gate running without a service call. A few of them solve the majority of “my gate stopped working” calls we get in Aurora.
Start with the sensors. Photo-eye sensors are the single most common cause of a gate that opens but won’t close, or reverses halfway. Spider webs, leaves, dirt, and a sensor nudged out of alignment will all do it. Wipe the lenses with a soft cloth and confirm the two sensors face each other squarely. The indicator light on most units tells you whether the beam is clear.
Then the remotes. A remote that works from ten feet but not from the driveway usually needs a battery, not a receiver. Swap the battery, then reprogram per your operator’s manual. For most residential units this is a press-and-hold sequence on the operator’s learn button followed by a press on the remote, nothing more.
Then the travel limits. If the gate stops short of fully open or reverses before it closes, the limits have drifted, often after a temperature swing or a minor bump. Every residential operator has an adjustment procedure in its manual. Follow it precisely. Ten minutes with the manual beats a service call for this one.
Then lubrication. Hinges, rollers, and the track want a proper gate lubricant, not WD-40. In an Aurora winter, a gate that grinds is usually a gate that’s dry or has ice packed into its track, not a gate with a failing motor.
If you work through those four and the gate still misbehaves, the problem has moved past the DIY line. That’s the point to stop and call.
Repairs That Require a Trained Technician
Some gate failures look like a five-minute fix and aren’t. In our experience the ones homeowners most often misjudge are the ones inside the operator housing, where a swap that seems obvious ends up costing more than the original repair would have.
Why control boards aren’t a DIY swap
A control board replacement on a modern operator means disconnecting 24V logic wiring, handling the anti-tamper and safety-reversal circuits correctly, then running a full entrapment test once the gate is back together. Get the wiring order wrong and you can take out the new board along with the receiver and the motor. Get the safety circuit wrong and the gate can close on a person or a car with no reversal. That’s the part most DIY videos skip.
Why wiring and line voltage are off-limits
The moment a repair touches the 120V or 240V supply, the work moves out of homeowner territory. That’s not a skill judgment, it’s an electrical safety and code issue. In Illinois, electrical work at a residential property is generally expected to be done by a licensed electrician under permit, and an automated gate operator sits squarely in that space. We won’t walk a homeowner through line-voltage work over the phone, and no responsible technician should.
Why structural work needs eyes on it
A sagging gate, a hinge pulling out of a post, or a slide gate that has jumped its track is a weight and balance problem. A gate panel can weigh several hundred pounds, and a slide gate that comes off its track can crush a hand or a foot in a fraction of a second. That work gets done by someone who can assess the post footing, the hinge plate, and the track before anything moves.
Why entrapment safety is non-negotiable
Every automated gate needs working entrapment protection: photo eyes, and on many operators a sensing edge or a monitored safety input. If any of those has failed, the gate isn’t safe to run, full stop. A technician will test the reversal and confirm the safety devices report correctly after any repair inside the operator. If you’re seeing a gate that closes with no reversal, that’s a call-us-today situation, not a weekend project.
What Illinois Code and Aurora Permits Mean for DIY Electrical Work
This is the part of the DIY question most guides leave out, and it’s the part that can cost you the most. Illinois regulates electrical work more tightly than most states. Residential electrical work is generally expected to be performed by a licensed electrician, and local jurisdictions issue the permits. For an automated gate, that means the electrical connection and often the operator installation itself can require a permit from the City of Aurora before the work starts.
Here’s what a permit requirement actually means for a homeowner who’s thinking about DIY:
- Permit triggers. A new operator install, a new power run to the gate, and any change to the electrical circuit serving the gate are the usual triggers. An inspection is part of that process in most cases. A like-for-like board or motor swap inside an existing, permitted operator usually is not, but confirm with the city before you assume.
- Warranty invalidation. Every major operator brand, from LiftMaster to FAAC, writes its warranty around professional installation and service. Opening the housing on a unit you installed yourself, or letting an unqualified person do electrical work, gives the manufacturer a clean reason to deny a claim on the board or the motor. That’s the quiet cost of a DIY electrical repair: you may save on labor and lose the coverage that would have replaced the part.
- Inspection and resale. Unpermitted electrical work can surface during a home sale inspection. In an older Aurora neighborhood, where a gate may have been added to a property with older service, an unpermitted connection is the kind of finding that turns into a real estate negotiation.
- Safety devices get tested. An inspection isn’t just about the wiring. It’s about whether the gate reverses on obstruction. That’s the entrapment protection standard behind UL 325, and it’s the reason a technician runs a test after every repair.
If you’re not sure whether your gate repair needs a permit, the answer is one phone call to the City of Aurora building department. Ask before you touch anything on the electrical side. The permit question is exactly the kind of thing that separates a safe repair from an expensive lesson.
The Most Expensive DIY Mistake: Ordering the Wrong Part
The most expensive DIY gate mistake isn’t a shock or a dropped panel. It’s the part you order that turns out to be the wrong part. Here’s the pattern: the gate won’t open, you search the symptom, you land on a control board, you order a board for the brand and model on the housing, it arrives, the gate still doesn’t move. The board was never the problem. The receiver was, or a limit switch, or a safety input that had faulted.
Why does this happen so consistently? Three reasons:
- The visible component isn’t the failed component. A dead gate draws your eye to the operator, but the failure may be upstream: a tripped breaker, a bad power supply, a sensor that has been in fault for weeks, or a worn limit switch the operator can no longer read. The operator is doing exactly what it’s designed to do when it refuses to move with a safety fault present.
- Model numbers don’t match part numbers. A brand like Elite or FAAC can have a dozen operator models that share a housing and a control-board family, but not the actual board revision. A board that looks identical to the one you took out may not be the one the unit needs, particularly on older or discontinued models.
- One symptom, many causes. “Gate opens but won’t close” and “gate won’t open” are each caused by at least half a dozen distinct failures across the brands we service. Ordering on the symptom alone is guesswork with a restocking fee attached.
The fix for this is cheap: have someone who knows the brand confirm the diagnosis before you spend money on parts. A free estimate is a lot less expensive than two boards and a motor. We work on nine major gate brands, from residential Mighty Mule and Ghost Controls operators up through heavy-duty commercial units from LiftMaster, FAAC, BFT, Linear, Viking, DoorKing, and Elite, and the diagnosis on a common residential unit is usually a short conversation.
What “Attempted DIY Repair” Does to Your Final Bill
Here’s something most homeowners never hear from a technician: a failed DIY attempt makes the professional repair take longer, not shorter. It’s not a gotcha or a penalty. It’s a real diagnostic cost, and it’s fair to explain it before you call.
What the technician actually faces
When we arrive at an untouched gate, we diagnose from a known baseline. The wiring is where the installer left it, the limits are where they were set, and the symptoms are the symptoms. When we arrive after a DIY attempt, we inherit a second set of variables. Wiring may have been reordered inside the operator. A board may have been swapped for an incorrect revision. Limits may have been turned to the wrong position, creating a new symptom on top of the old one. The gate may have been moved manually and left partway off its track.
Why that costs more
The billable time on a repair is dominated by diagnosis, not by the repair itself. A clean diagnosis on a common residential operator might be twenty minutes. A diagnosis after an attempted board swap may be an hour, because we have to verify what was changed, restore the correct configuration, and confirm the new part is the right one before we do anything else. The repair is the same repair. The path to it is longer.
Our prices are set per job by a written estimate, and we quote before work begins so there are no surprises on the invoice. The point here isn’t to penalize anyone. It’s that the honest answer to “should I try it first?” includes “your eventual repair may take longer if it doesn’t work.” If you’ve already made an attempt and it didn’t take, that’s fine. Stop there and tell us what you did. The more we know, the faster the diagnosis goes.
The Middle Path: Prep Work Before the Technician Arrives
You don’t have to choose between doing nothing and doing everything. An Aurora homeowner can do several things before a technician arrives that save real diagnostic time and make the visit more efficient. This is the prep list we’d give anyone who’s booked a visit for a gate repair in Aurora:
- Write down the brand and model. Look at the operator housing. Note the brand (LiftMaster, FAAC, BFT, Linear, Viking, Ghost Controls, DoorKing, Elite, or Mighty Mule) and the model number on the label. That single piece of information shortcuts the brand-and-parts side of the diagnosis.
- Note the exact symptom and when it started. “Won’t open from the keypad but opens fine from the remote” points to a different component than “won’t open from anything.” “Reverses halfway” points to a sensor or a limit. Write down what happened, in what order, and what you tried.
- Record what you did already. If you swapped a remote battery, cleaned the sensors, or pressed the learn button, say so. That stops the technician from repeating steps and narrows the search.
- Clear the path. Remove anything from the gate’s travel: vehicles, bins, toys, and any debris, snow, or ice. A gate that jams halfway is harder to diagnose and takes longer to test.
- Find the power switch and the breaker. Know where the operator’s power switch is and which breaker feeds it, but don’t switch anything yet. The technician will tell you when to cut power.
- Check the outside of the gate for impact damage. A ding on a panel or a bent track tells the technician where the failure probably started.
- Take a short video. A phone video of the gate failing, from the moment you trigger it, is worth a paragraph of description. It shows the technician the exact motion, speed, and reversal behavior.
Doing those seven things doesn’t replace the technician. It turns what could be an hour of diagnostic guesswork into a targeted repair. That’s the middle path, and most Aurora homeowners are well served by it.
Why Brand Familiarity Changes the DIY Calculation
The same “replace the board” task is a different job on different brands. A residential Mighty Mule operator is a common, well-documented DIY-adjacent unit, and its manuals are written for homeowners. A heavy-duty FAAC or DoorKing operator on a commercial drive is a different system entirely, with deeper control logic, different safety interfaces, and no expectation that the end user will service it. Treating them the same way is how homeowners end up with a part they can’t return and a gate that still doesn’t work.
One practical reason to know your brand: the manufacturer’s documentation is where the safe DIY tasks live. LiftMaster and Mighty Mule publish user-level limit and remote procedures. Elite and FAAC publish install guides aimed at technicians. Knowing which bucket your operator falls into tells you whether that manual on your kitchen table is a DIY guide or a warning label.
The other reason is diagnostic speed. A technician familiar with your specific brand skips the “which revision is this?” phase and goes straight to the failure. We work on nine brands because the gate in front of us is far more likely to be one of them, and we’ve seen the same failure modes across the families. That’s specialization doing the work a generalist can’t. For a deeper look at what specialized electric work actually covers, see our electric gate repair page, and for more on the city itself, our Aurora page covers the neighborhoods and housing we work in.
Common Mistakes to Avoid
- Assuming the operator is broken when the sensor is. Most won’t-close and reversing-gate calls in Aurora trace to a dirty or misaligned photo eye, not the operator. Clean and align the sensors before you price a board.
- Opening the operator housing to “take a look.” Once the housing is open, you’re inside the safety circuits and the warranty. A look is not free, even if it costs nothing that day.
- Ordering a part by brand and symptom alone. Gate operators have several failure modes per symptom and multiple board revisions per model. Confirm the diagnosis before you order, or you’ll pay a restocking fee twice.
- Doing anything with the 120V or 240V line yourself. In Illinois this is licensed electrical territory, and an automated gate needs a permit for new power in most cases. This is the mistake that turns a repair into a citation or a coverage fight.
- Ignoring a failed entrapment test. A gate that closes with no reversal is not a gate to keep using until the weekend. Get it fixed or leave it open.
- Grinding through a stuck gate manually. Forcing a gate that’s off its track or jammed can bend the track, twist a hinge, or drop a panel. Stop and get help.
- Paying a technician to reprogram a remote. If the remote just needs a battery and a learn sequence, the manual has it. Save the call for the things that actually need one.
See the difference
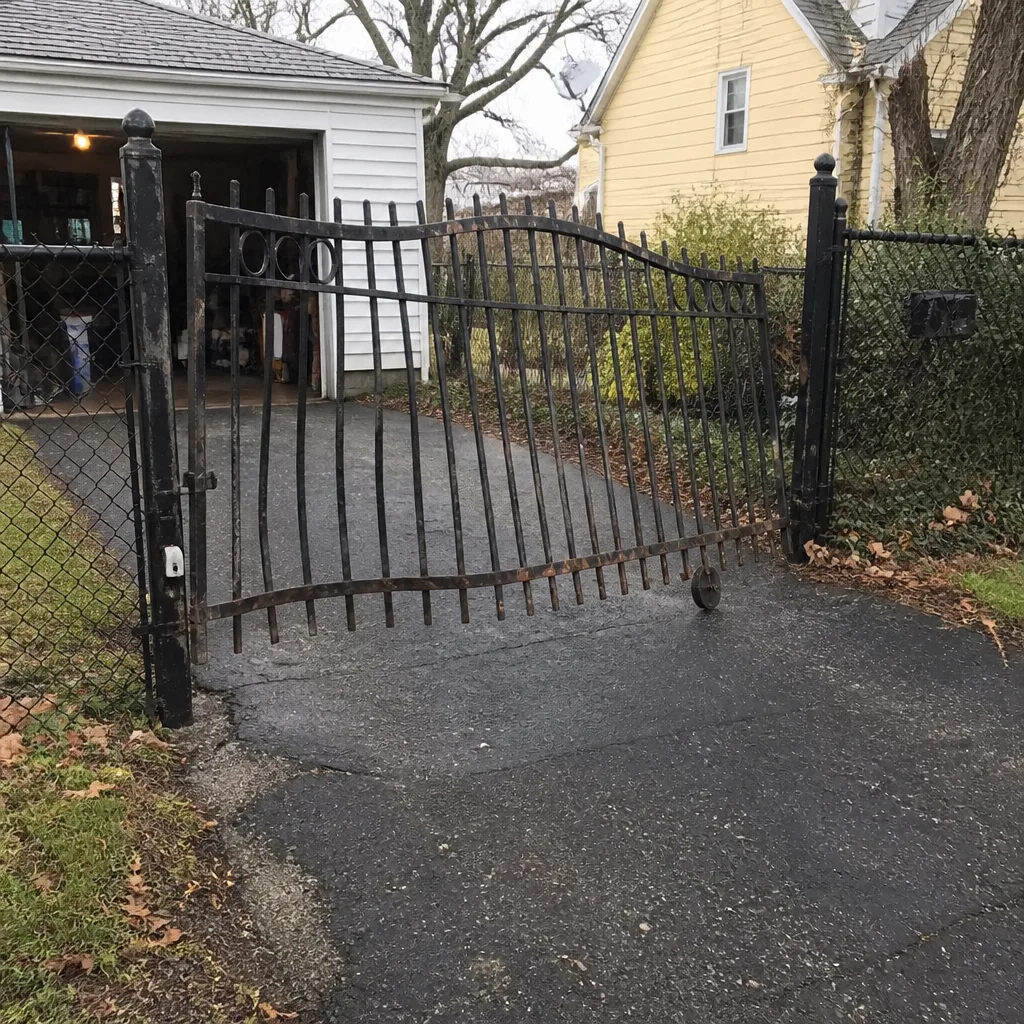 Before
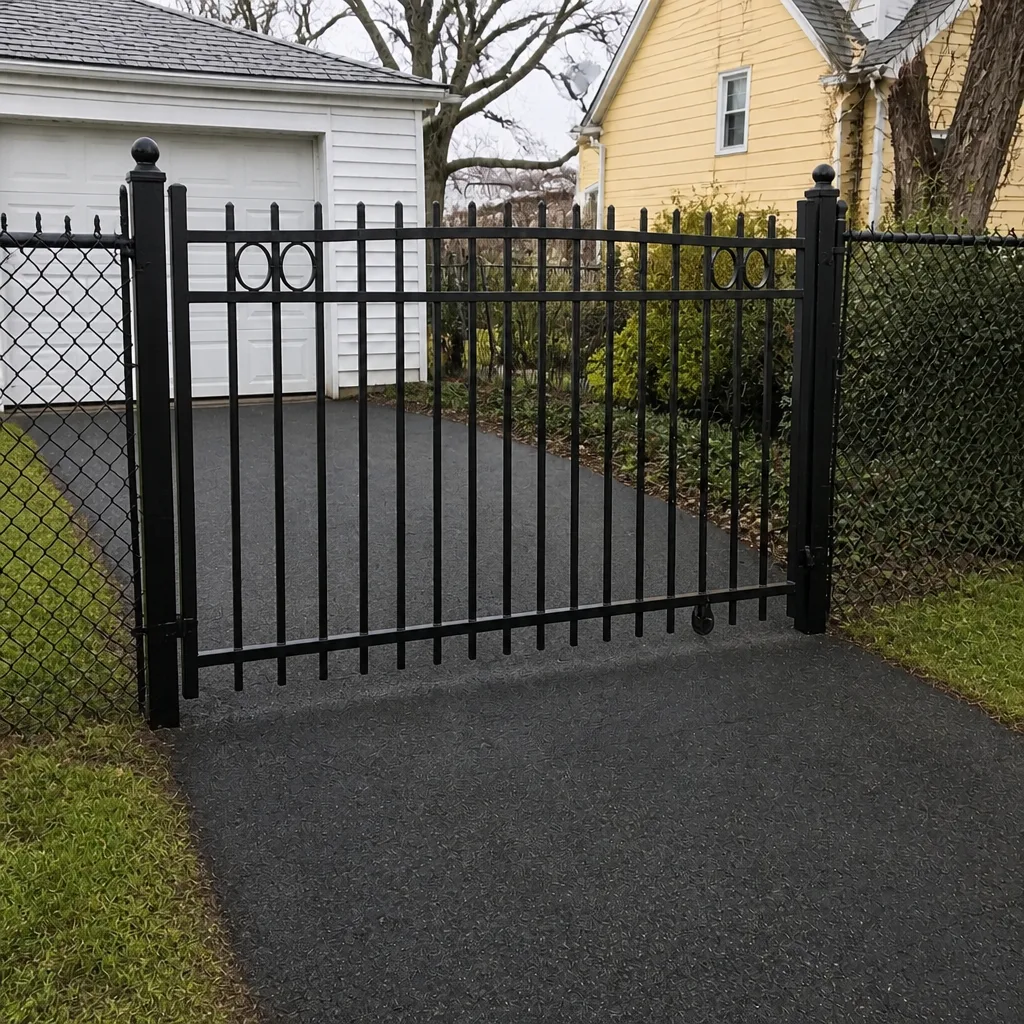 After
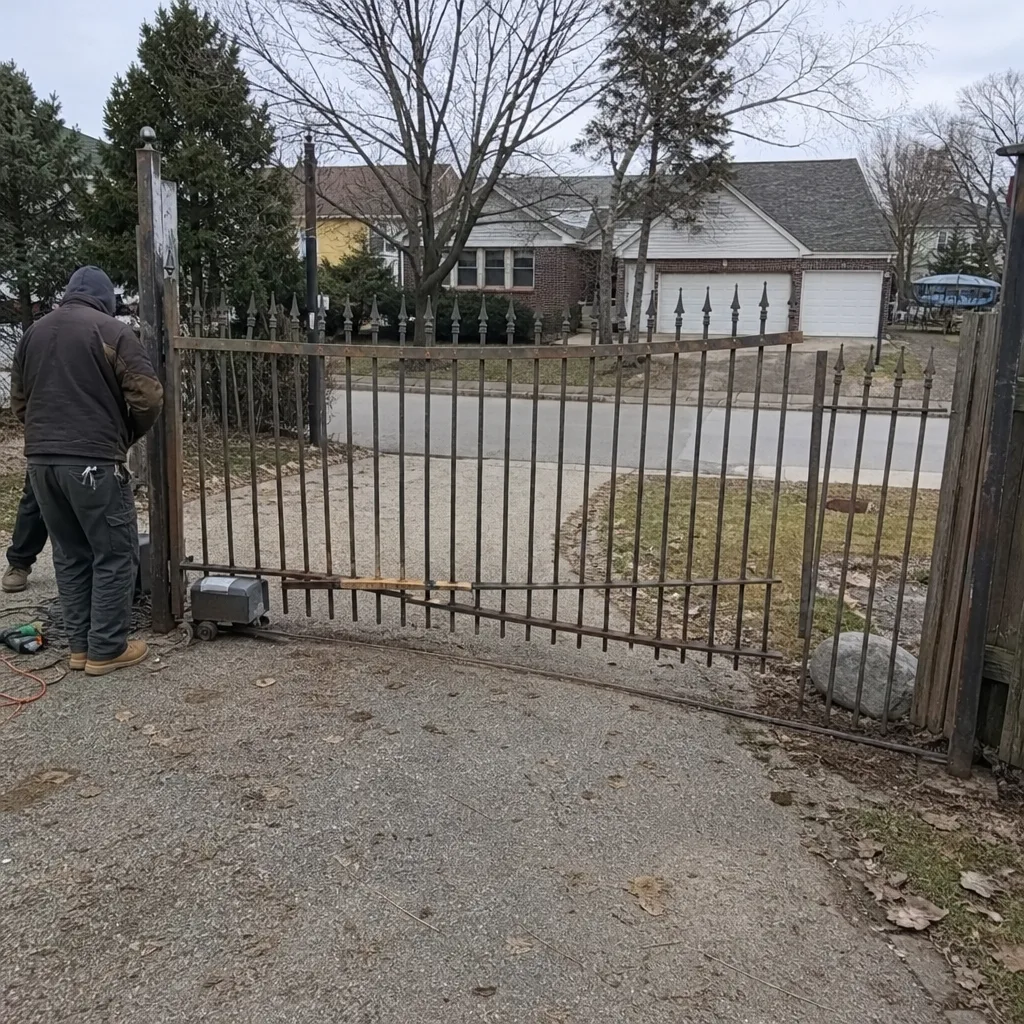 Before
 After
 Before
 After
When to Call a Professional
Call a technician the moment any of these is true: the gate won’t reverse on obstruction; the operator makes a grinding, popping, or humming noise; there’s any smell of burning from the housing; the gate has come off its track or a hinge is pulling away from the post; the power to the operator has failed or been altered; or you’ve worked through the safe DIY list and the gate still misbehaves. Those are the cases where waiting costs more than fixing. For an all-electrical failure, a dedicated electric gate specialist is the right call, and if you’re not sure whether your issue is electrical, we’ll tell you on the phone.
Gate Repair Aurora offers free estimates in Aurora. Call (866) 361-5021. We answer 24/7. Fast dispatch from 7am to 7pm. Our technicians have up to 9 years of experience, we work on both residential and commercial systems, and we handle repair or replacement on the same roster, so you don’t need a second contractor if the gate turns out to be past saving. You can also start at our Gate Repair Aurora home page for the full service picture.
Frequently Asked Questions
Yes, on most residential operators, travel limit adjustment is a safe DIY task. It’s a documented procedure in the owner’s manual for common residential units from LiftMaster, Mighty Mule, and similar brands, and it doesn’t involve line voltage. Follow the manual exactly and test the gate’s reversal afterward. If you can’t get the limits to hold or the gate behaves erratically after adjustment, that’s a sign of a failing limit switch and worth a call.
Often, yes. Major operator brands write their warranties around professional installation and service, and opening the housing or doing unauthorized electrical work gives the manufacturer grounds to deny a future claim. If you’re still inside your warranty period, check the terms before you touch anything inside the operator. Call (866) 361-5021 for a free estimate so your coverage stays intact.
New operator installations and new electrical runs to the gate typically do need a permit from the City of Aurora, and an inspection is usually part of that. A like-for-like repair on an existing permitted operator usually doesn’t, but the answer depends on your specific circumstance. Confirm with the city’s building department before starting any electrical work. Estimates from us are free if you’d rather have a technician assess the job first.
It can be, on three specific failure types. Line-voltage wiring, a slide gate that has come off its track, and any gate that won’t reverse on obstruction are genuinely dangerous. A sliding gate can weigh several hundred pounds and move without warning; an operator with a failed safety circuit is a hazard to people and vehicles. Those three are always a professional call. Lubrication, sensor cleaning, and remote reprogramming are not dangerous.
Not by policy, but diagnosis takes longer after an attempted repair, and that can affect the job. If wiring was reordered, limits were changed, or a board was swapped, the technician has to restore a known baseline before diagnosing the actual failure. Our price is set per job by a written estimate you approve before any work starts, so you’ll know the number before we begin. Call (866) 361-5021 for an exact quote.
Yes. We service residential operators and heavy-duty commercial systems from LiftMaster, FAAC, BFT, Linear, Viking, Ghost Controls, DoorKing, Elite, and Mighty Mule, and we handle both repair and full installation. If you’re a property manager or HOA with a commercial gate, we can assess it on-site and give you a written estimate. Reach us at (866) 361-5021; estimates are free.
The Bottom Line
The DIY question in gate repair is really three questions: is it a user-level task, does it involve line voltage or structural weight, and does it affect a permit or a warranty? Most of the repairs we see could go either way, and the Aurora homeowners who come out ahead are the ones who match the repair to the category. Lubrication, sensor cleaning, remote programming, and limit adjustment are yours. Boards, motors, wiring, structural repair, and anything that fails a reversal test belong with a technician. When you’re unsure, one honest diagnosis is cheaper than one wrong part.
Contact
If your gate is misbehaving and you’d rather have a straight answer than a YouTube tutorial, call Gate Repair Aurora at (866) 361-5021 for a free estimate. We answer 24/7. Fast dispatch from 7am to 7pm, Sunday through Friday. Tell us the brand and the symptom and we’ll tell you what you’re dealing with.
Written by the team at Gate Repair Aurora.